
Store-bought chicken nuggets are convenient, but they rarely compare to a fresh, homemade batch. This recipe uses simple ingredients, a crunchy coating, and juicy chicken breast to create nuggets that taste better than anything from a freezer bag or drive-thru window. They come together in under 40 minutes and work well baked, fried, or air-fried.
Whether you’re feeding picky kids, meal-prepping lunches, or just craving a nostalgic comfort food, this recipe gives you full control over the ingredients, the seasoning, and the crunch factor.
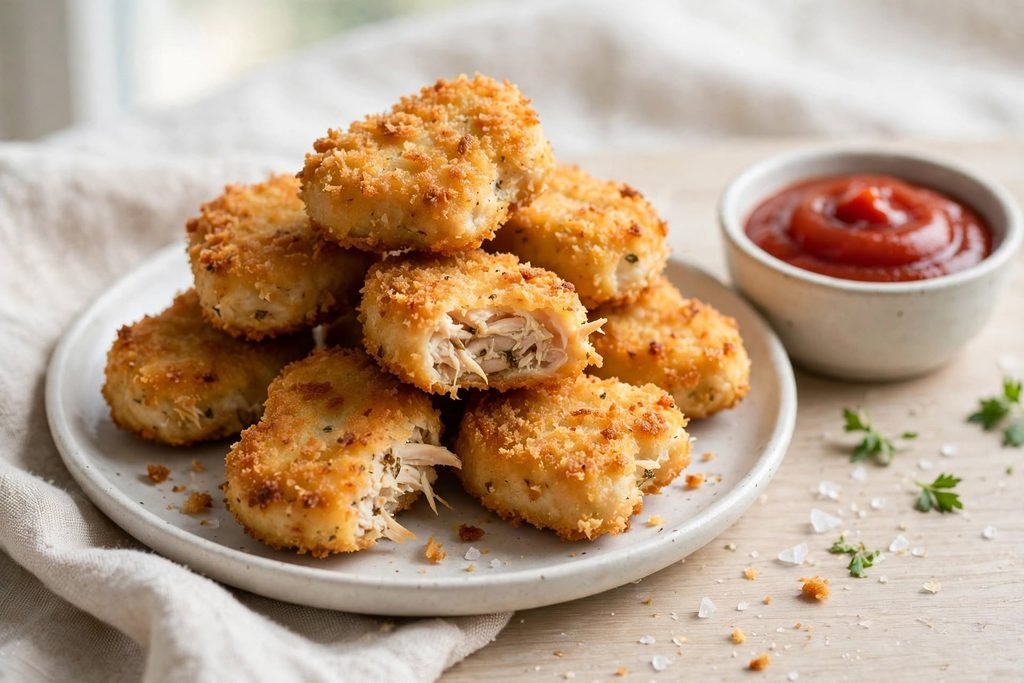
Quick Recipe Overview
- Prep Time: 15 minutes
- Cook Time: 20 minutes
- Total Time: 35 minutes
- Servings: 4
- Method: Baked (with frying and air fryer options)
- Difficulty: Easy
Why You’ll Love This Recipe
- Made with real chicken breast, not processed fillers
- Crispy panko coating without deep-frying
- Ready in about 35 minutes
- Freezer-friendly for easy weeknight dinners
- Easily customizable with different seasonings or gluten-free coatings
- A reliable dinner kids actually eat
Ingredients
For the Chicken:
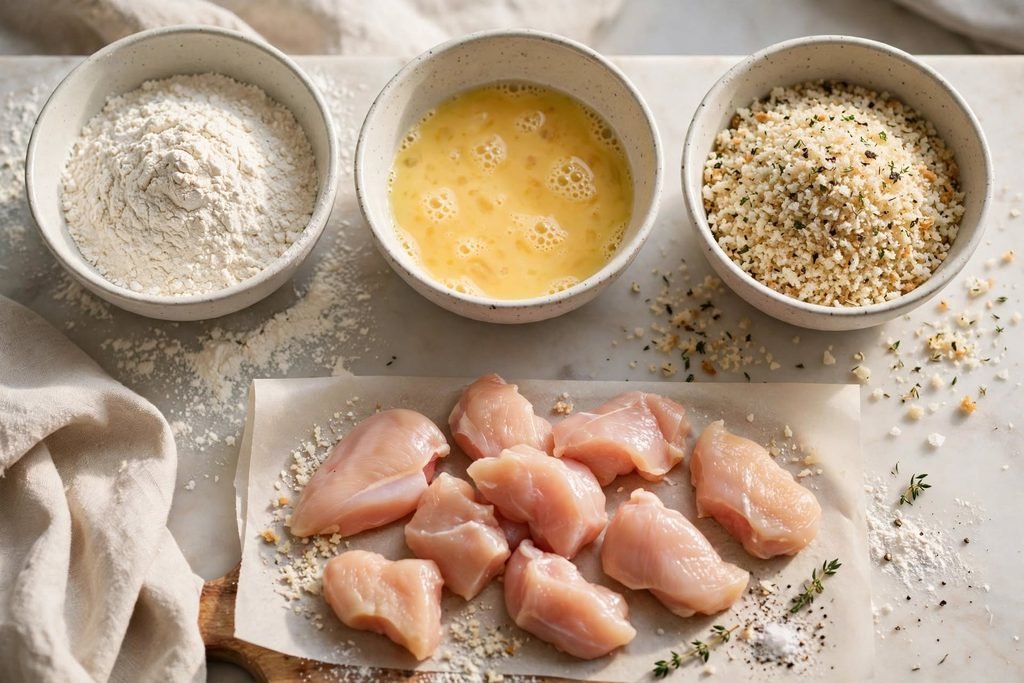
- 1 ½ pounds boneless, skinless chicken breast, cut into bite-sized pieces
- ½ teaspoon salt
- ¼ teaspoon black pepper
For the Breading Station:
- ½ cup all-purpose flour
- 2 large eggs
- 1 tablespoon water
- 1 cup panko breadcrumbs
- ½ teaspoon garlic powder
- ½ teaspoon onion powder
- ½ teaspoon paprika
- ¼ teaspoon salt
- 2–3 tablespoons olive oil (for baking) or oil for frying
Ingredient Notes & Substitutions
- Chicken breast vs thighs: Chicken thighs work too and stay slightly juicier, though breast is more traditional for nuggets.
- Panko vs regular breadcrumbs: Panko creates a lighter, crunchier texture. Regular breadcrumbs work but produce a denser coating.
- Gluten-free option: Substitute the flour and panko with gluten-free versions of each; the texture stays similar.
- Dairy-free: This recipe is naturally dairy-free as written.
- Extra flavor: Add ¼ teaspoon smoked paprika or a pinch of cayenne to the breadcrumb mix for a subtle kick.
Step-by-Step Instructions
1. Prep the Chicken
Pat the chicken pieces dry with paper towels. Season with salt and pepper. Drying the chicken helps the coating stick better and crisp up more evenly.
2. Set Up the Breading Station
In one bowl, add the flour. In a second bowl, whisk the eggs with water. In a third bowl, combine panko, garlic powder, onion powder, paprika, and salt.
3. Bread the Nuggets
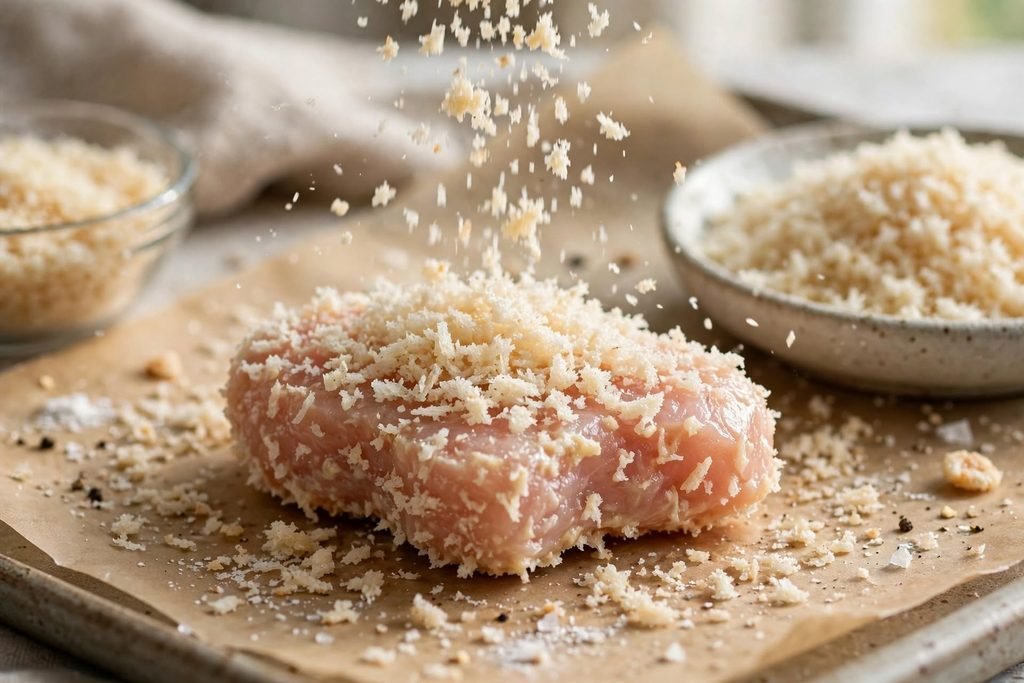
Dredge each chicken piece in flour, shaking off the excess. Dip into the egg wash, then press firmly into the panko mixture so the coating fully adheres.
4. Arrange on a Baking Sheet
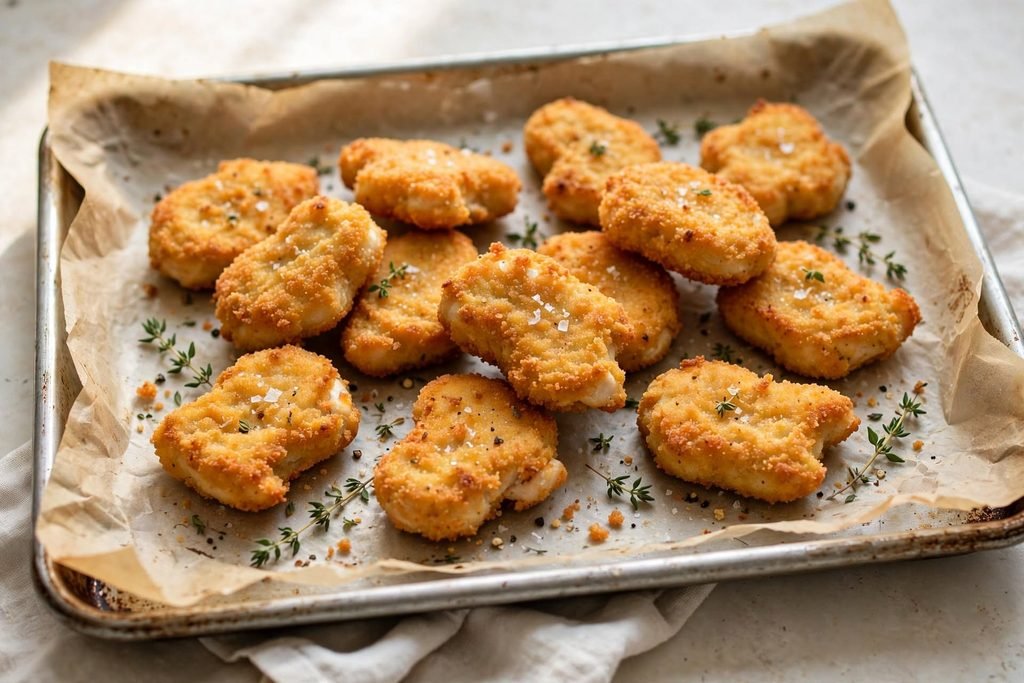
Place the breaded nuggets in a single layer on a parchment-lined baking sheet. Lightly drizzle or spray with olive oil to help them crisp in the oven.
5. Bake Until Golden
Bake at 425°F (220°C) for 18–20 minutes, flipping halfway through, until golden brown and the internal temperature reaches 165°F (74°C).
6. Cool Slightly and Serve
Let the nuggets rest for 2–3 minutes before serving. This keeps the coating crisp and prevents sogginess.
Expert Tips & Common Mistakes
- Don’t skip drying the chicken. Excess moisture prevents the coating from sticking properly.
- Press, don’t dip, into the panko. Pressing firmly helps the crumbs adhere and creates a thicker crust.
- Avoid overcrowding the pan. Nuggets need space to crisp; overcrowding causes steaming instead of browning.
- Use a meat thermometer. This is the most accurate way to confirm doneness without cutting into every piece.
- Preheat the oven fully. A properly heated oven ensures even browning from the start.
Variations
- Air Fryer Method: Cook at 400°F (200°C) for 10–12 minutes, flipping halfway, until golden and cooked through.
- Pan-Fried Method: Shallow fry in ¼ inch of oil over medium heat for 3–4 minutes per side.
- Spicy Nuggets: Add cayenne pepper or hot sauce to the egg wash.
- Parmesan Crust: Mix grated Parmesan into the panko for a savory, cheesy coating.
- Dino-Shaped Nuggets: Use a mold before breading for a fun, kid-friendly shape.
Serving Suggestions
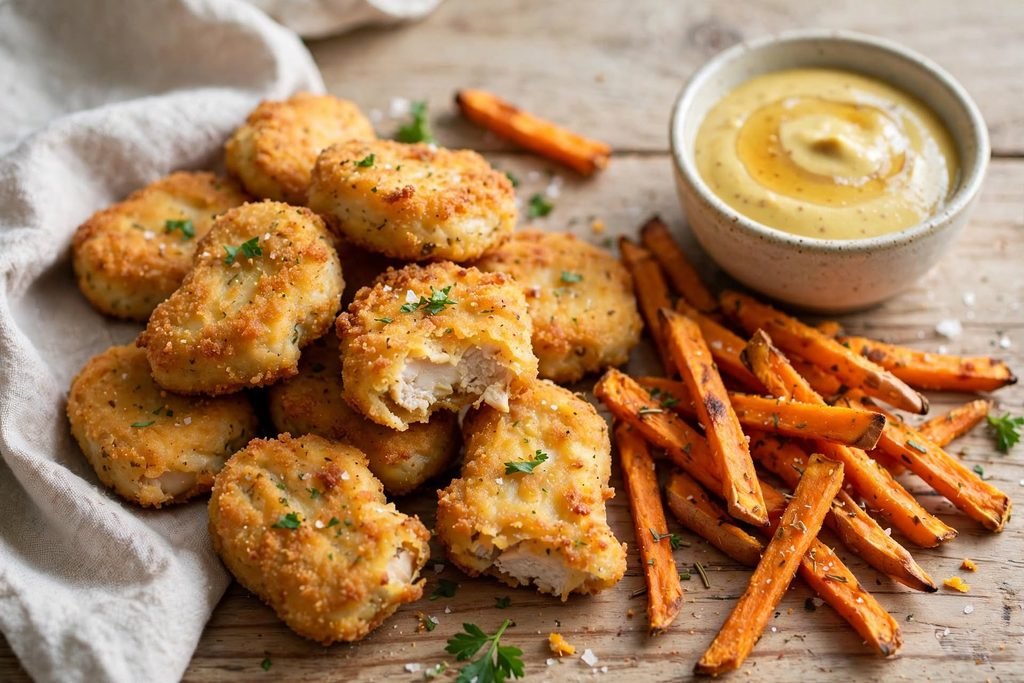
Serve homemade chicken nuggets with classic dips like ketchup, honey mustard, or ranch. They pair well with a side of roasted vegetables, sweet potato fries, or a simple green salad. For a full kid-friendly meal, add steamed corn or apple slices.
Storage & Reheating
- Refrigerator: Store cooled nuggets in an airtight container for up to 4 days.
- Freezer: Freeze breaded, uncooked or cooked nuggets in a single layer, then transfer to a freezer bag for up to 3 months.
- Reheating: Reheat in the oven or air fryer at 375°F (190°C) for 8–10 minutes to restore crispiness. Avoid microwaving, as it softens the coating.
FAQs
Can I make these nuggets ahead of time? Yes. Bread the nuggets and refrigerate them uncooked for up to 24 hours before baking or frying.
Why is my coating falling off? This usually happens when the chicken isn’t dried properly or the panko isn’t pressed on firmly enough.
Can I use chicken tenders instead of breast? Yes, chicken tenders work well and require a similar cook time.
Are these nuggets healthier than store-bought? Since they’re made with whole chicken breast and no fillers or preservatives, they’re generally a cleaner option than many store-bought versions.
Can I make these dairy-free? Yes, this recipe is naturally dairy-free as written.
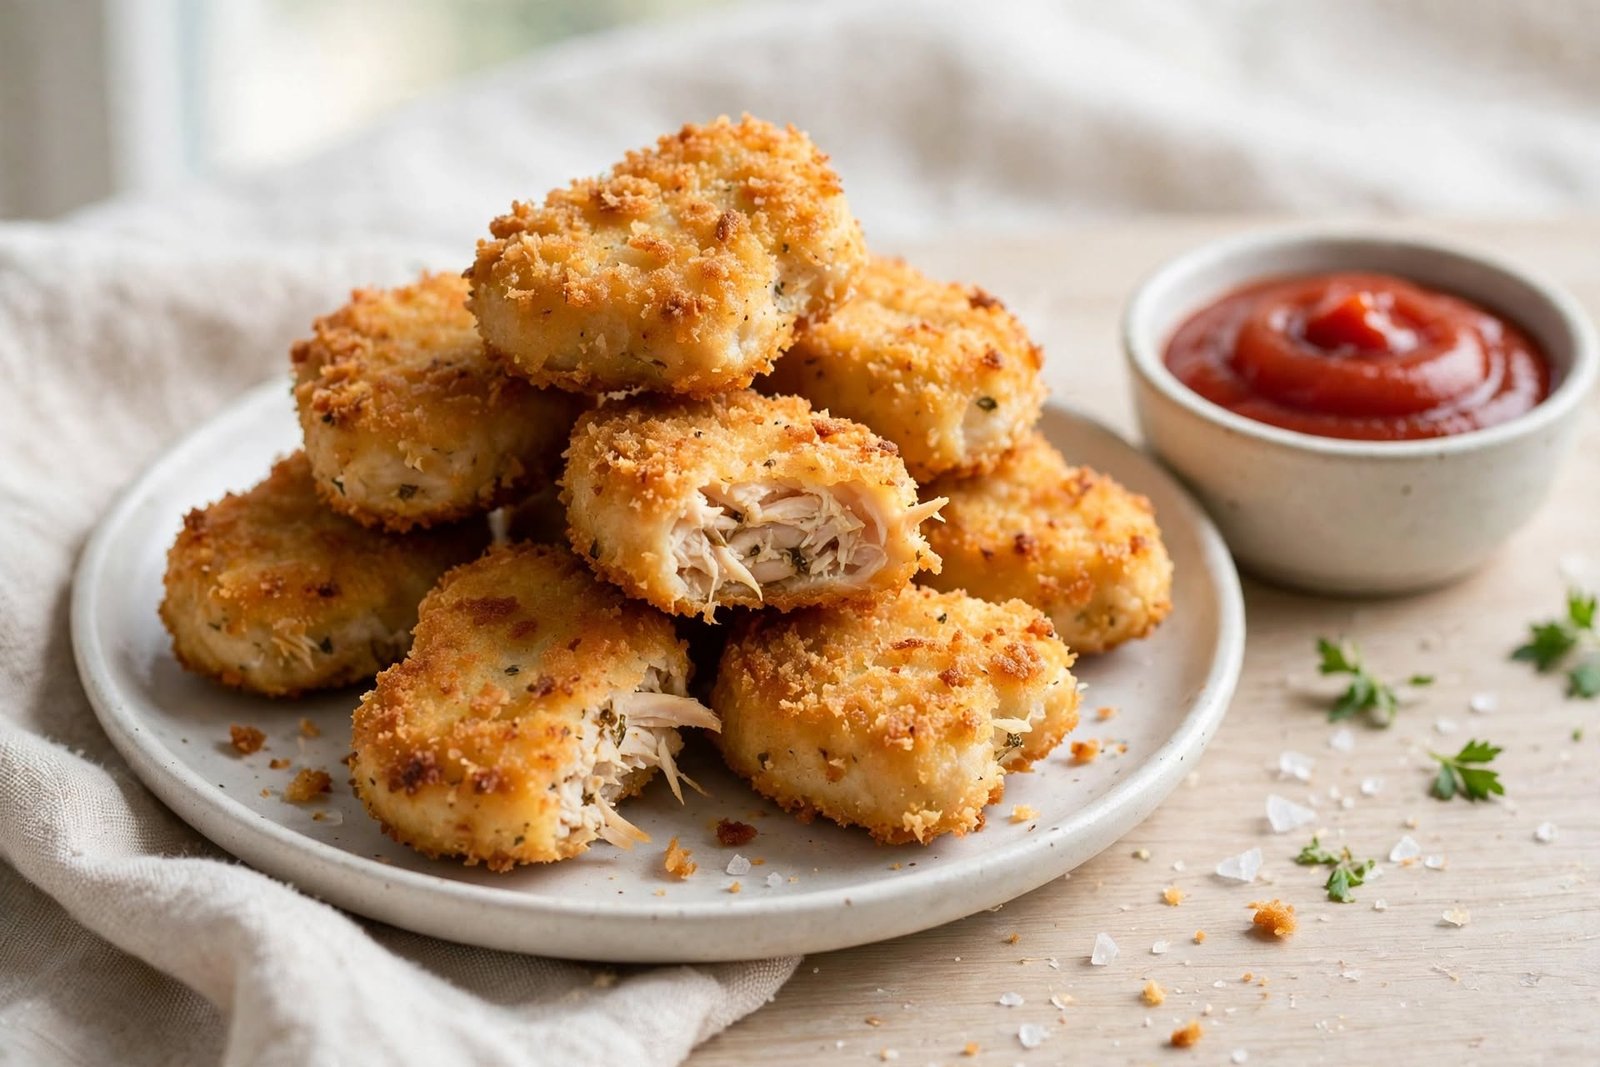
Homemade Chicken Nuggets
Ingredients
Equipment
Method
- Pat chicken dry and season with salt and pepper.
- Set up three bowls: flour, whisked egg with water, and seasoned panko.
- Dredge chicken in flour, dip in egg, then press into panko to coat.
- Arrange breaded nuggets on a parchment-lined baking sheet and drizzle with olive oil.
- Bake at 425°F (220°C) for 18–20 minutes, flipping halfway, until golden and internal temperature reaches 165°F (74°C).
- Rest for 2–3 minutes before serving.
[…] Homemade Chicken Nuggets (Crispy, Juicy, and Easy) […]