
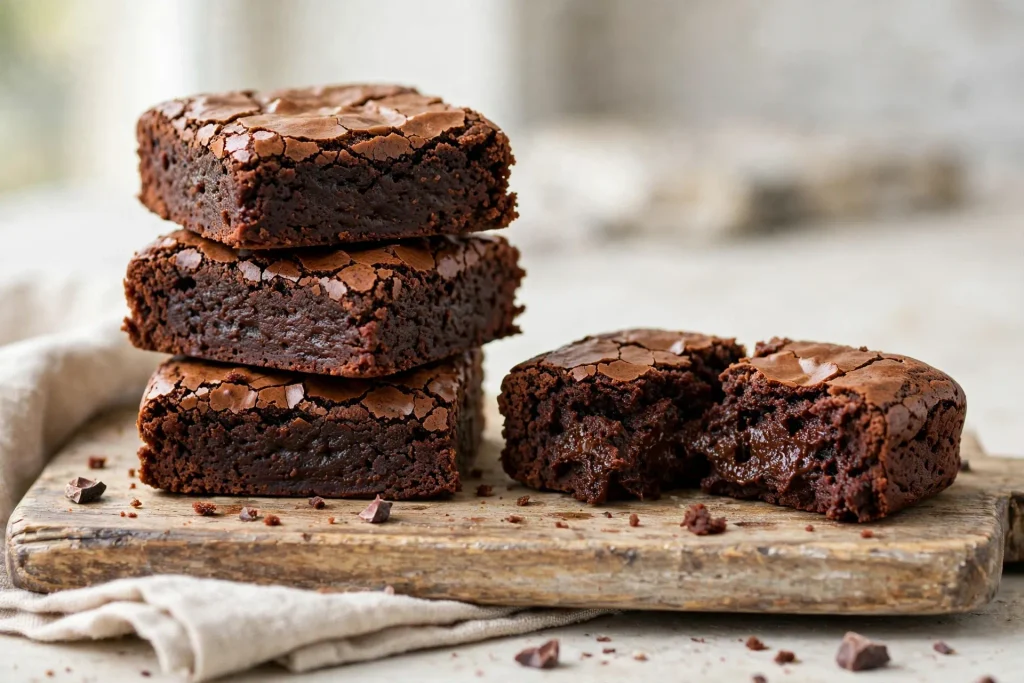
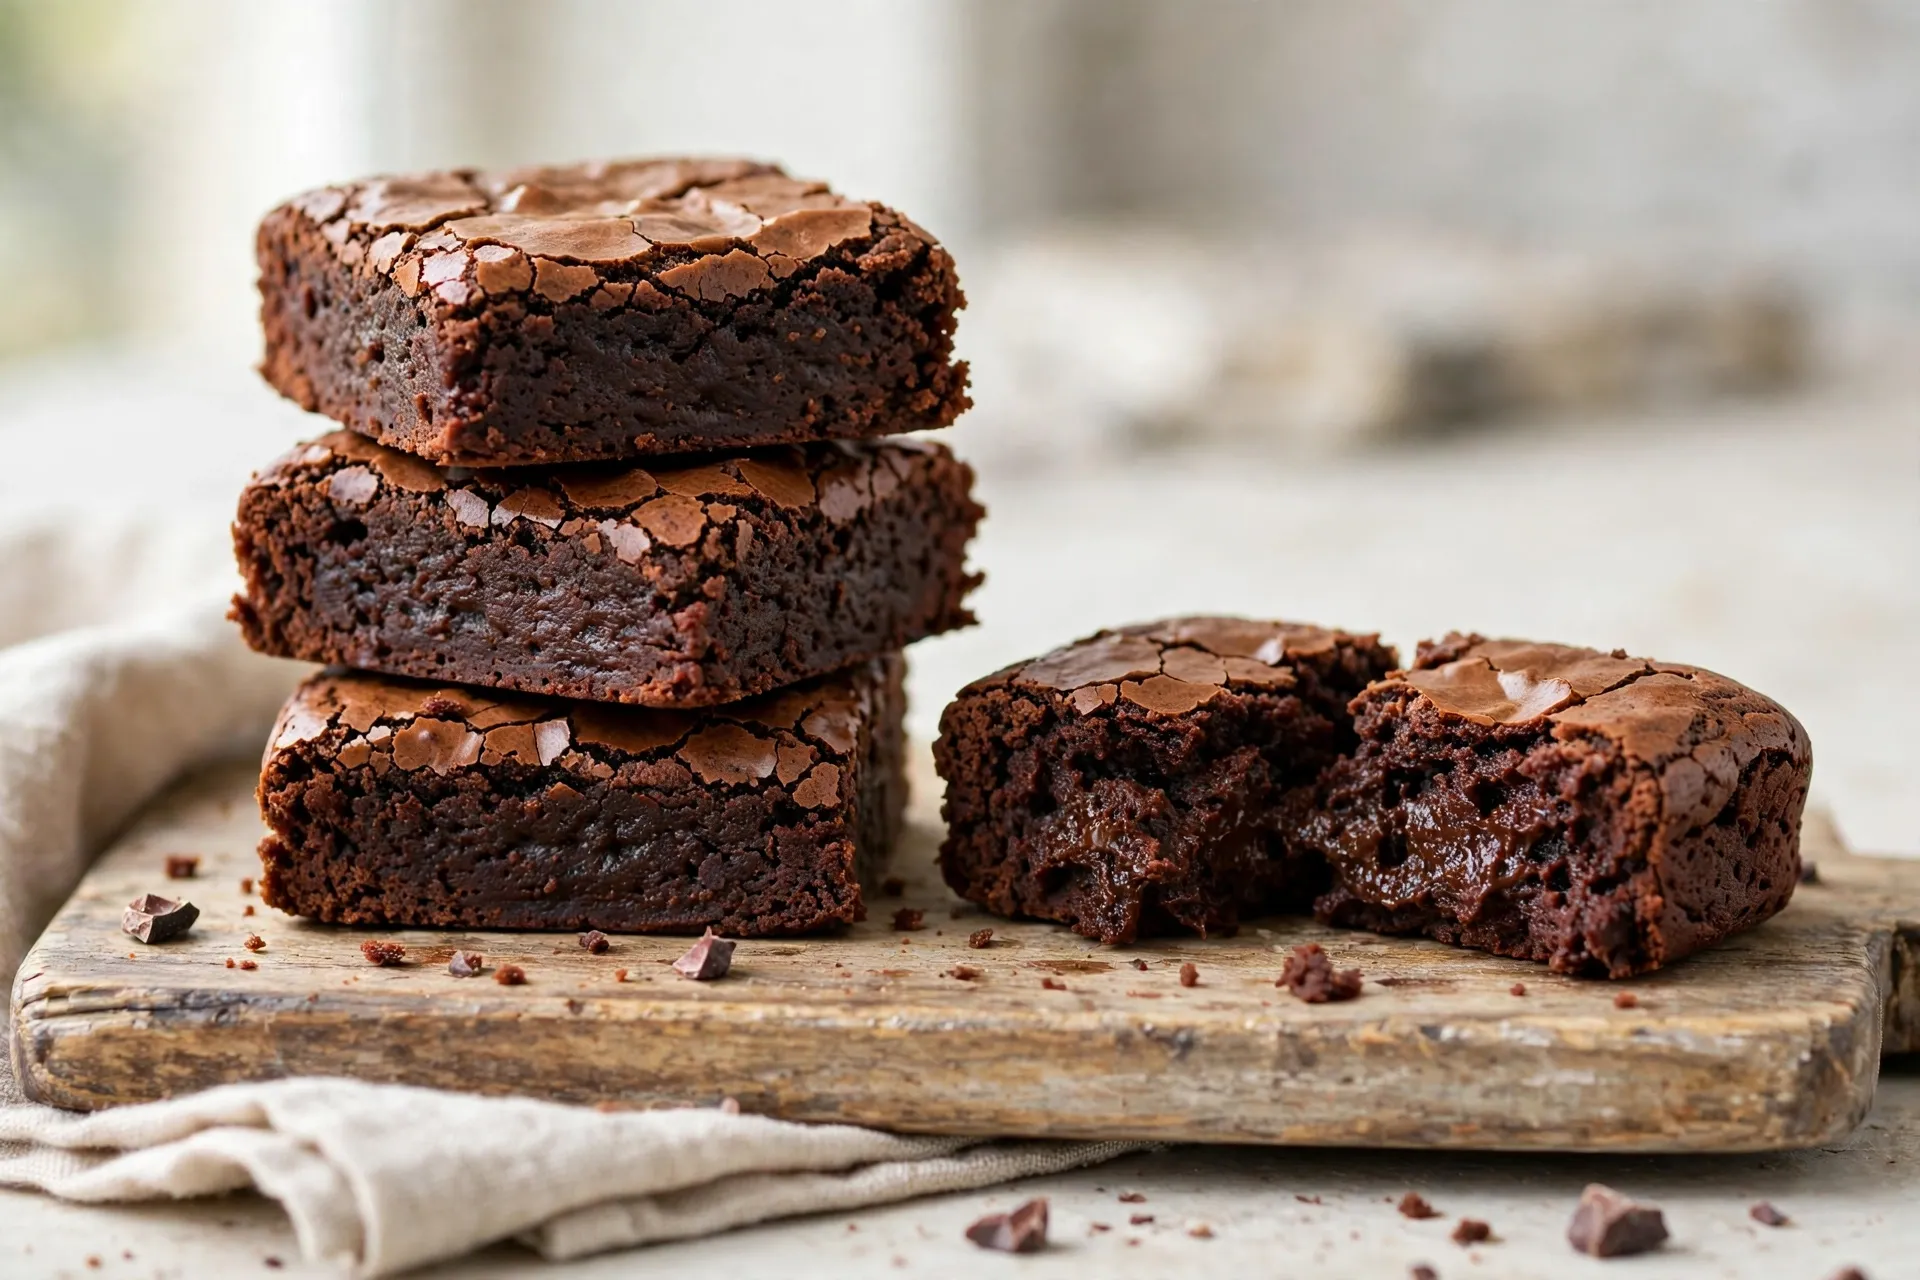
Few desserts deliver as much comfort per square inch as a good brownie. This fudgy brownie recipe comes together in one bowl with a whisk, no mixer, no fuss and bakes into a pan of dense, chocolatey squares with soft centers, slightly chewy edges, and that glossy, crackly top everyone hopes for. If you’ve been chasing bakery-style brownies at home, this is the version to keep.
The batter uses melted butter instead of creamed butter, which is the biggest reason these brownies turn out fudgy rather than cakey. Cocoa powder does the heavy lifting for flavor, a small amount of flour keeps the texture dense, and a handful of chocolate chips adds pockets of melted chocolate throughout. Everything mixes in one bowl in under 15 minutes, then the oven does the rest.
Quick Recipe Overview
| Detail | Information |
|---|---|
| Prep Time | 10 minutes |
| Bake Time | 30–35 minutes |
| Total Time | About 45 minutes |
| Servings | 16 brownies |
| Pan Size | 9×9-inch |
| Difficulty | Easy |
Why You’ll Love This Recipe
- Everything mixes in a single bowl, so cleanup is minimal.
- No stand mixer or hand mixer needed , just a whisk and a spatula.
- Made with pantry staples you likely already have on hand.
- The center stays fudgy and dense, not cakey.
- A vigorous whisking step is the trick behind the shiny, crackly top.
- Chocolate chips create extra melted pockets of chocolate in every bite.
- Easy to customize with nuts, caramel, peanut butter, or espresso.
Ingredients
Wet Ingredients
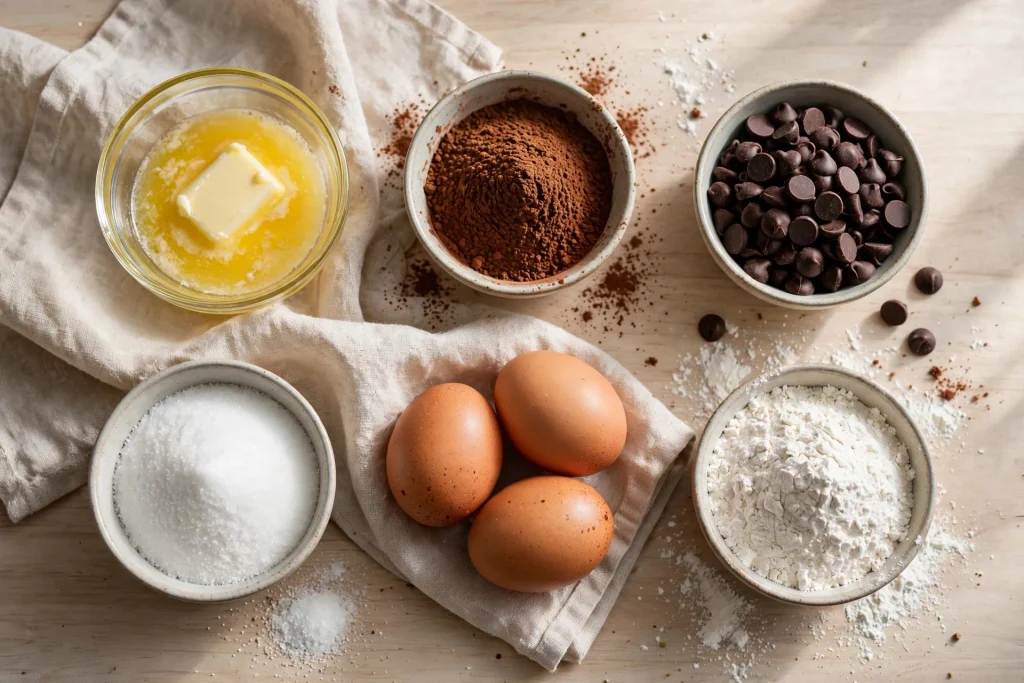
- ¾ cup (170g) unsalted butter, melted
- 1½ cups (300g) granulated white sugar
- 3 large eggs, at room temperature
- 1 teaspoon pure vanilla extract
Dry Ingredients
- ¾ cup (75g) unsweetened cocoa powder, Dutch-process or natural
- ½ cup (65g) all-purpose flour
- ½ teaspoon salt
Mix-Ins
- ½ cup (85g) semi-sweet chocolate chips
Ingredient Notes & Substitutions
Cocoa Powder
Dutch-process cocoa gives a darker brownie with a smoother, more intense chocolate flavor. Natural unsweetened cocoa powder works just as well and produces a slightly lighter color with a brighter chocolate taste.
Butter
Melted butter (rather than softened or creamed butter) is what gives this recipe its fudgy texture, so don’t skip that step or substitute a creaming method.
Sugar
Stick with granulated white sugar. Liquid sweeteners like honey or maple syrup change the batter’s structure and will affect how the brownies set.
Eggs
Room-temperature eggs blend smoothly into warm melted butter without seizing. Three whole eggs give the brownies enough structure to hold together while staying dense.
Flour
Only a small amount of flour is used here on purpose, it keeps the brownies rich and fudgy instead of cakey. Spoon the flour into your measuring cup and level it off rather than scooping directly from the bag.
Chocolate Chips
Semi-sweet chips are the standard choice, but bittersweet, milk chocolate, or white chocolate chips all work well if you want to switch things up.
Substitution Chart
| Ingredient | Substitution |
|---|---|
| Unsalted butter | Salted butter; omit the added salt |
| All-purpose flour | 1:1 gluten-free flour blend (texture may vary slightly) |
| Semi-sweet chocolate chips | Bittersweet, milk chocolate, or white chocolate chips |
| Granulated sugar | Do not substitute with a liquid sweetener |
| Eggs | Not recommended to substitute — eggs provide structure |
| Butter | Up to half can be replaced with vegetable oil for extra moistness |
Step-by-Step Instructions
Step 1: Prep Your Pan and Oven
Preheat the oven to 350°F (175°C). Grease a 9×9-inch metal baking pan and line it with parchment paper, leaving an overhang on two sides so the brownies lift out easily once baked.
Step 2: Melt the Butter and Whisk in the Sugar
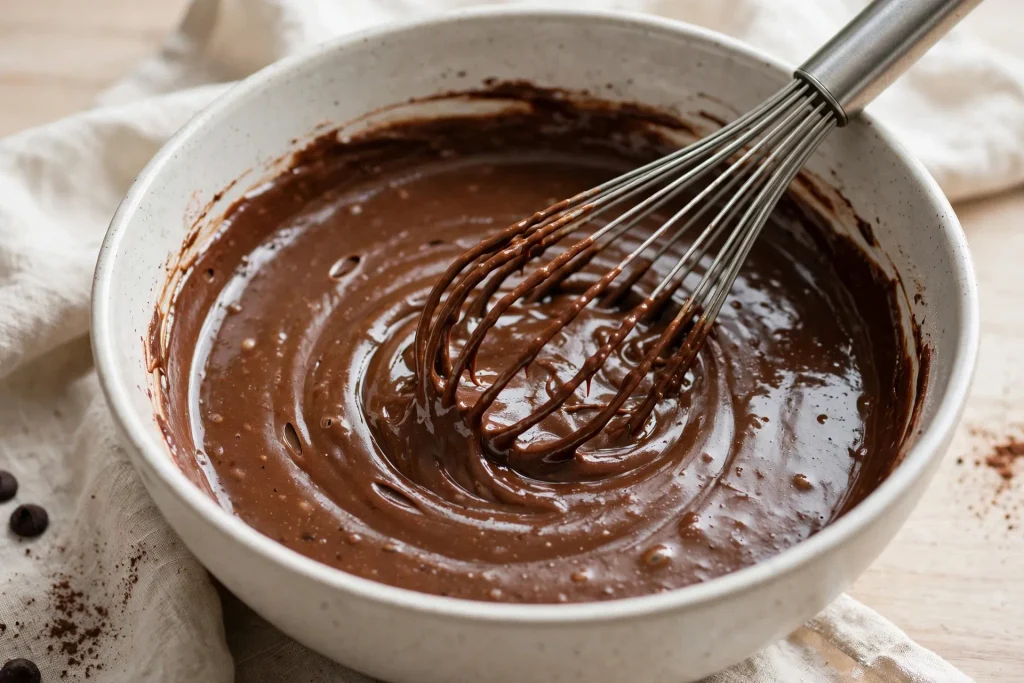
Melt the butter in a large microwave-safe bowl in 30-second bursts, stirring between each one. While it’s still warm, add the sugar and whisk vigorously for about 60 seconds. This step is what builds the shiny, crackly top, so don’t rush it.
Step 3: Add the Eggs and Vanilla
Add the eggs one at a time, whisking well after each addition. Stir in the vanilla extract. The batter should look glossy and slightly thickened at this point.
Step 4: Stir in the Cocoa Powder and Salt
Add the cocoa powder and salt directly into the wet mixture. Switch to a rubber spatula and stir until fully combined and smooth.
Step 5: Fold in the Flour
Add the flour and fold it in gently, stopping as soon as the dry streaks disappear. Overmixing at this stage can make the brownies tougher.
Step 6: Add the Chocolate Chips
Fold in the chocolate chips, then pour the batter into the prepared pan and spread it evenly into the corners.
Step 7: Bake
Bake for 30–35 minutes. Start checking around the 30-minute mark for a very fudgy center; around 33 minutes gives a balanced fudgy-chewy texture, and 35 minutes leans firmer and chewier. Insert a toothpick about 1 inch from the edge of the pan — it should come out with a few moist crumbs, not raw batter.
Step 8: Cool Completely Before Cutting
Let the brownies cool in the pan for at least 30 minutes, then lift them out using the parchment overhang. Cool for another 15–20 minutes on a cutting board before slicing into squares.
Expert Tips & Common Mistakes
Use a Metal Pan
A metal pan bakes more evenly and produces cleaner, more defined edges than glass. If you only have glass, lower the oven temperature slightly and check for doneness a few minutes early.
Don’t Rush the Whisking Step
The glossy, crackly top depends on whisking the sugar into warm melted butter until the mixture looks slightly lightened and thick. A quick stir won’t get you there.
Measure Flour Carefully
Too much flour is the most common reason brownies turn out dry or cakey. Spoon flour into the measuring cup and level it off instead of scooping straight from the bag.
Keep the Oven Door Closed Early On
Avoid opening the oven during the first 20 minutes of baking so the temperature stays steady while the brownies set.
Use Room-Temperature Eggs
Cold eggs can cause the melted butter to seize slightly, which affects the final texture. Let eggs sit out for about 20–30 minutes before baking.
Don’t Overmix After Adding Flour
Fold gently and stop as soon as the streaks of flour disappear. Extra mixing develops gluten and makes the texture less tender.
Don’t Overbake
Brownies keep cooking from residual heat once out of the oven. Pull them when a toothpick shows moist crumbs rather than waiting for it to come out completely clean.
Let Them Cool Before Cutting
Warm brownies are soft and fragile. Cooling firms up the texture and makes for cleaner slices.
Variations
Double Chocolate Brownies
Melt ¼ cup of dark chocolate (60–70% cocoa) along with the butter for a deeper, more intense chocolate flavor.
Nutty Brownies
Fold in ½ cup of toasted walnuts or pecans along with the chocolate chips.
Salted Caramel Brownies
Pour half the batter into the pan, drizzle with 3–4 tablespoons of caramel sauce, cover with the remaining batter, and swirl gently. Finish with flaky sea salt before baking.
Cream Cheese Swirl Brownies
Mix 4 oz softened cream cheese with 2 tablespoons sugar and 1 egg yolk. Drop spoonfuls over the batter and swirl with a knife before baking.
Peanut Butter Brownies
Warm 3 tablespoons of smooth peanut butter until pourable, drop spoonfuls over the batter, and swirl before baking.
Espresso Brownies
Stir 1 teaspoon of instant espresso powder into the cocoa-and-butter mixture to deepen the chocolate flavor without adding a coffee taste.
Serving Suggestions
Brownies are satisfying on their own, but a few simple additions turn them into a full dessert.
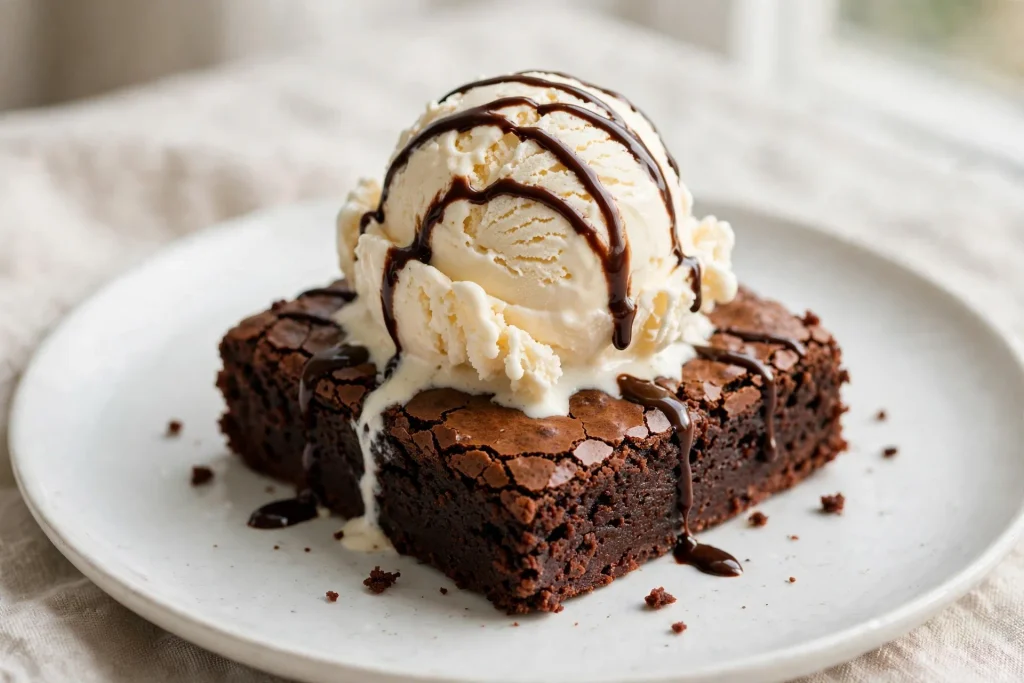
- Serve warm with a scoop of vanilla ice cream.
- Dust with powdered sugar for a simple finish.
- Drizzle with warm caramel or chocolate sauce.
- Top with whipped cream and fresh raspberries.
- Pair with coffee or hot chocolate.
- Cut into smaller bite-sized squares for parties or dessert trays.
Storage & Reheating
At Room Temperature
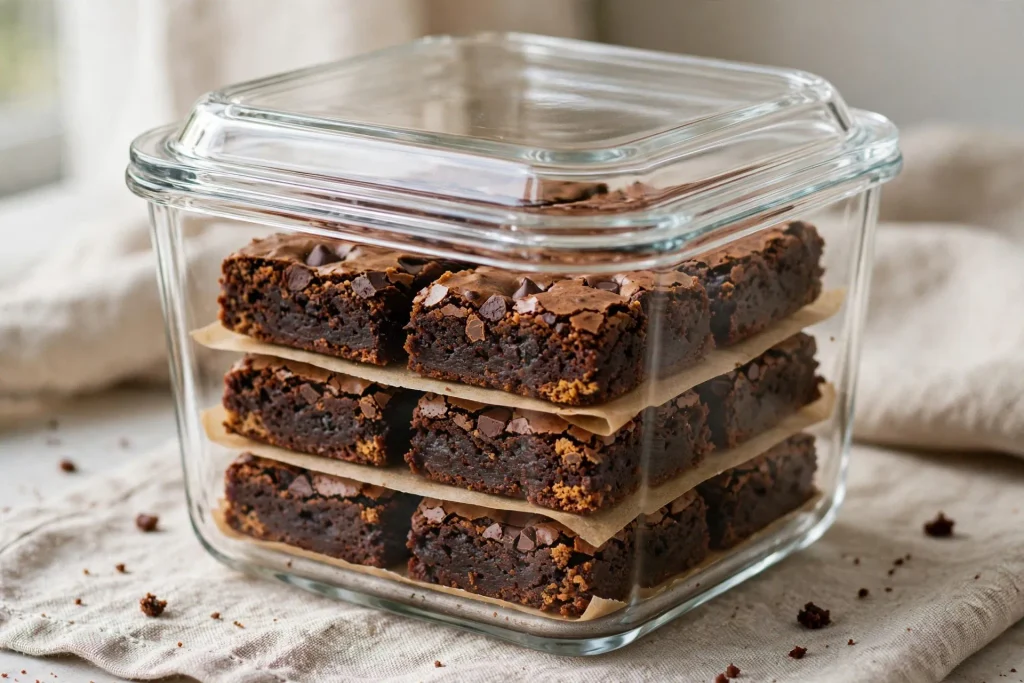
Store in an airtight container at room temperature for up to 4 days. Layer parchment paper between brownies to prevent sticking.
In the Refrigerator
Store in an airtight container in the refrigerator for up to 1 week. Let refrigerated brownies sit at room temperature for 20–30 minutes before serving, since chilling firms up the texture.
In the Freezer
Wrap individual squares in plastic wrap and place them in a freezer bag. Freeze for up to 3 months. Thaw at room temperature for 1–2 hours, or microwave a single square for 15–20 seconds.
Reheating
Microwave one brownie square for 10–15 seconds and serve immediately while warm.
FAQs
Why is my brownie cakey instead of fudgy?
Too much flour, an extra egg, or overmixing after the flour goes in can all push the texture toward cakey. Measure flour carefully and fold it in gently for the fudgiest result.
Why didn’t my brownies get a crackly top?
The crackly top comes from vigorously whisking the sugar into warm melted butter. If that step is rushed or done too gently, the top will turn out more matte than shiny.
Can I double this brownie recipe?
Yes. Double every ingredient and bake in a 9×13-inch pan instead. Baking time may shift slightly with the larger pan, so start checking a few minutes before the estimated time.
Why did my brownies sink in the middle?
Underbaking or opening the oven door too early are the most common causes. A sunken center doesn’t affect the taste, and the brownies are still fine to eat.
Can I use Dutch-process and natural cocoa powder interchangeably?
Yes, both work well. Dutch-process gives a darker color and smoother flavor, while natural cocoa produces a lighter color with a slightly brighter chocolate taste.
Do I need baking powder or baking soda?
No. This recipe is intentionally made without leavening agents. Adding either will make the brownies rise more and shift the texture toward cakey instead of fudgy.
What if I only have a glass pan?
Lower the oven temperature to 325°F (165°C) and start checking for doneness about 5 minutes earlier, since glass holds heat differently than metal.
How do I know when brownies are done?
Insert a toothpick about 1 inch from the edge rather than in the center. It should come out with a few moist crumbs, not raw batter — the brownies will continue to set as they cool.
Fudgy Brownie Recipe (One Bowl, No Mixer)
Ingredients
Equipment
Method
- Preheat oven to 350°F (175°C). Grease and line a 9×9-inch metal pan with parchment paper, leaving an overhang.
- Melt butter in a microwave-safe bowl in 30-second intervals, stirring between each.
- Add sugar to the warm butter and whisk vigorously for about 60 seconds.
- Add eggs one at a time, whisking after each addition, then whisk in vanilla.
- Stir in cocoa powder and salt until smooth.
- Gently fold in flour until no dry streaks remain.
- Fold in chocolate chips and spread the batter evenly in the prepared pan.
- Bake for 30–35 minutes, until a toothpick inserted 1 inch from the edge comes out with moist crumbs.
- Cool in the pan for at least 30 minutes, then lift out using the parchment overhang and cool another 15–20 minutes before slicing.
[…] Fudgy Brownie Recipe (One Bowl, No Mixer) […]