Getting fried chicken right at home comes down to three things: a well-seasoned marinade, a coating that actually sticks, and oil that stays at the correct temperature. This crispy fried chicken recipe walks through all three, using a buttermilk soak and a seasoned flour dredge that fries up crunchy on the outside while keeping the chicken juicy underneath.
Bone-in, skin-on pieces work best here because the skin crisps up and holds the coating better than boneless cuts. The method is straightforward enough for a weeknight dinner once the chicken has marinated, and it scales easily if you’re feeding a crowd.
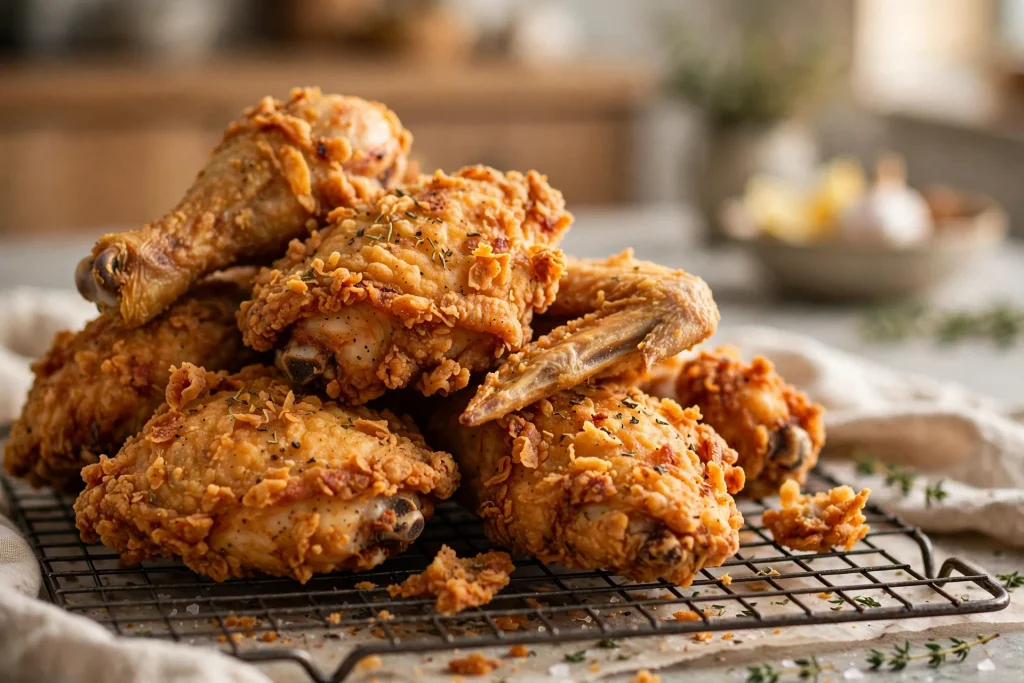
Quick Recipe Overview
Method: Deep Frying
Prep Time: 20 minutes
Marinating Time: 4 hours (up to overnight)
Cook Time: 30–35 minutes
Total Time: About 5 hours, mostly hands-off marinating
Servings: 4
Yield: 8 pieces
Course: Main Dish
Cuisine: American
Chicken is done when the thickest piece reaches 165°F (74°C) on an instant-read thermometer. Because piece size varies, always check temperature rather than relying on frying time alone.
Why You’ll Love This Recipe
A Coating That Actually Stays Crunchy
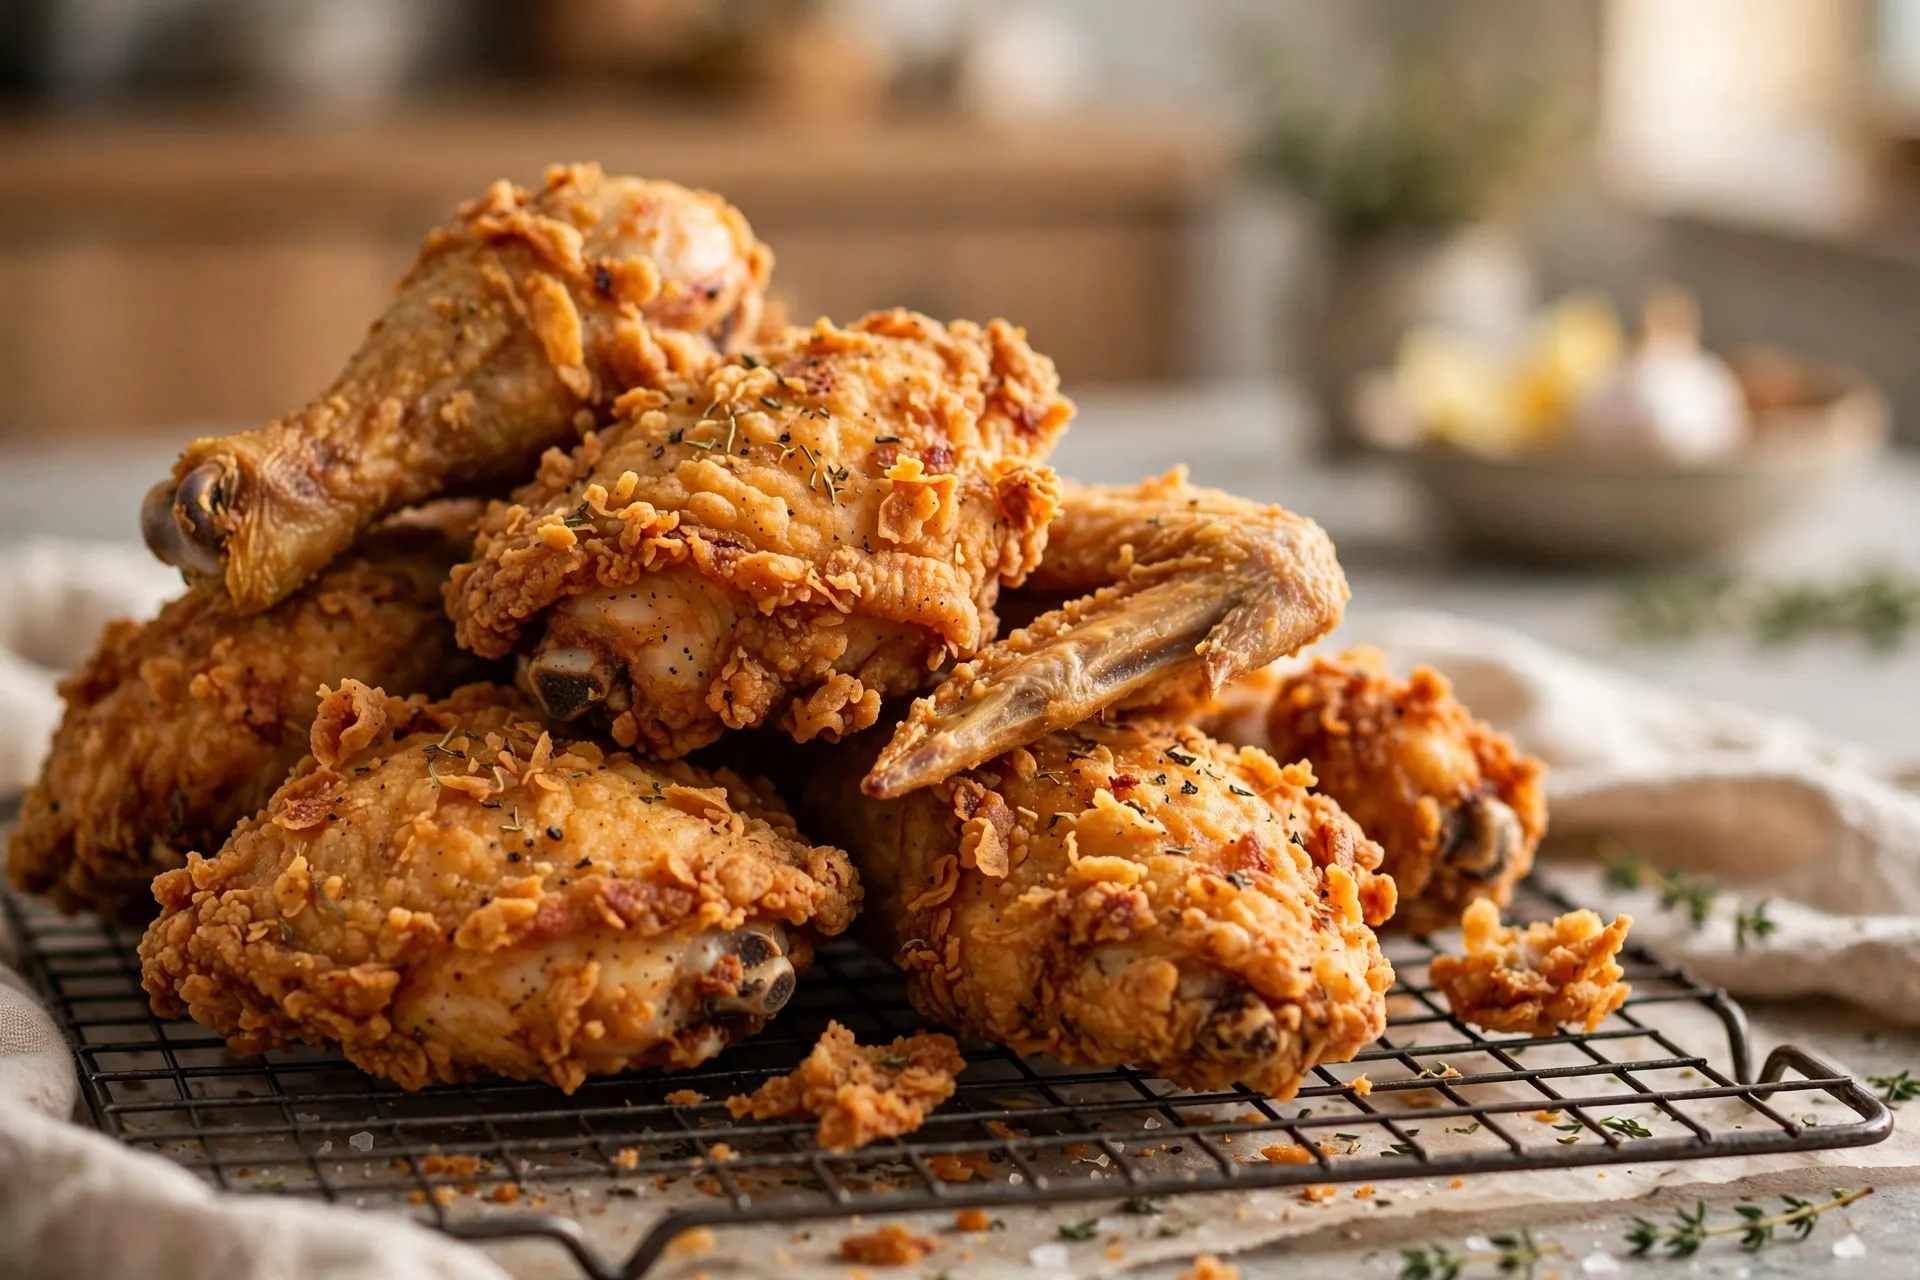
Pressing the seasoned flour firmly onto the marinated chicken builds a thick, textured crust that holds up well after frying, instead of flaking off in the pan.
Big Flavor From a Short Ingredient List
The buttermilk marinade and seasoned flour rely on pantry staples . paprika, garlic powder, onion powder, and a touch of cayenne — so there’s no need for a specialty spice blend.
Batch Frying for Even Results
Frying a few pieces at a time keeps the oil temperature steady, which is one of the biggest factors in getting an evenly browned, crisp exterior.
Built-In Doneness Check
Rather than guessing from color alone, this recipe uses a target internal temperature, so the chicken is fully cooked without being dried out.
Ingredients
For the Chicken and Marinade
- 3 pounds bone-in, skin-on chicken pieces (thighs and drumsticks work well)
- 3 cups buttermilk
- 1 tablespoon hot sauce
- 2 teaspoons kosher salt
- 1 teaspoon black pepper
- 1 teaspoon paprika
- 1 teaspoon garlic powder
For the Seasoned Flour
- 3 cups all-purpose flour
- 1 tablespoon baking powder
- 2 teaspoons paprika
- 2 teaspoons garlic powder
- 2 teaspoons onion powder
- 1 teaspoon black pepper
- 1 teaspoon kosher salt
- ½ teaspoon cayenne pepper
For Frying
- Vegetable or peanut oil, as needed
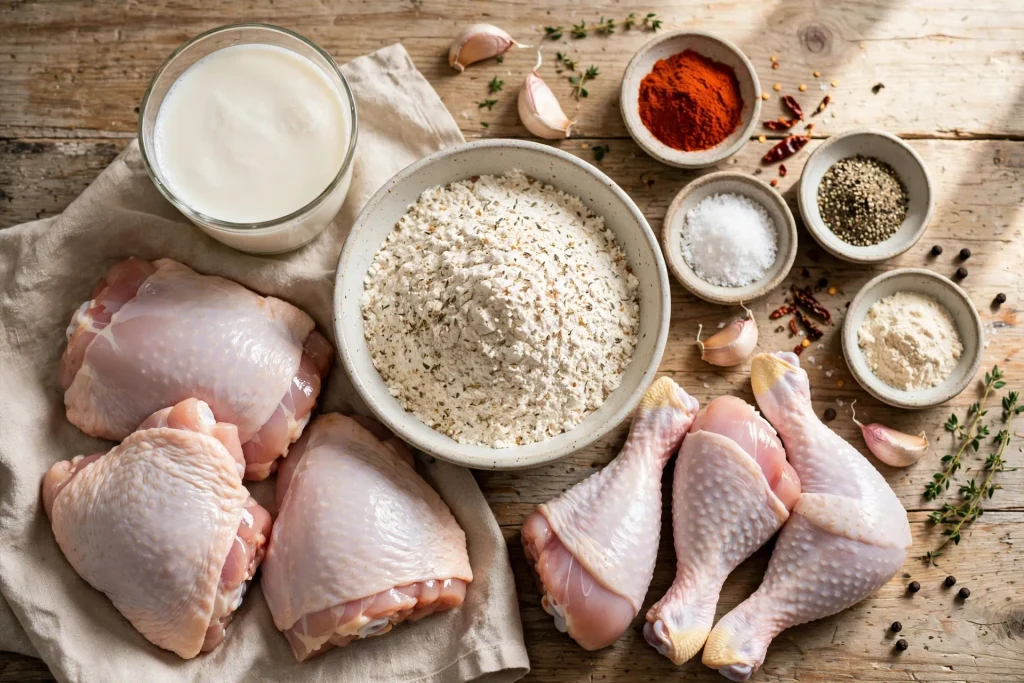
Ingredient Notes & Substitutions
Chicken Pieces
Choose bone-in, skin-on pieces that are roughly the same size so they finish cooking around the same time. Thighs and drumsticks are forgiving because their higher fat content keeps them juicy during frying.
Buttermilk
Buttermilk tenderizes the chicken slightly and adds a mild tang. In a pinch, whisk 3 cups of milk with 3 tablespoons of lemon juice or white vinegar and let it sit for 5–10 minutes, though texture and flavor will differ slightly from cultured buttermilk.
Hot Sauce
This adds background flavor more than heat at the stated amount. Increase it if you want a spicier marinade, or leave it out for a milder chicken.
All-Purpose Flour
Flour is the base of the crust. Avoid substituting a large portion with other flours unless you’re specifically going for a different texture, since it can change how the coating crisps.
Baking Powder
A small amount of baking powder in the flour mixture helps the coating puff slightly as it fries, giving it a lighter, more textured bite instead of a dense, pasty crust.
Cayenne Pepper
Half a teaspoon gives a mild warmth. Reduce it for a coating with no heat, or double it if you prefer a spicier crust.
Frying Oil
Use a neutral oil with a high smoke point, such as vegetable, canola, or peanut oil. Peanut oil is a common choice for fried chicken because it holds up well at frying temperatures.
Step-by-Step Instructions
Step 1: Marinate the Chicken
Place the chicken pieces in a large bowl or resealable container. Add the buttermilk, hot sauce, salt, pepper, paprika, and garlic powder, and turn the chicken until every piece is coated.
Cover and refrigerate for at least 4 hours, or up to overnight for deeper flavor. Keep the chicken cold the entire time it’s marinating.
Step 2: Mix the Seasoned Flour
In a large shallow bowl, whisk together the flour, baking powder, paprika, garlic powder, onion powder, black pepper, salt, and cayenne pepper until evenly combined.
Step 3: Dredge the Chicken
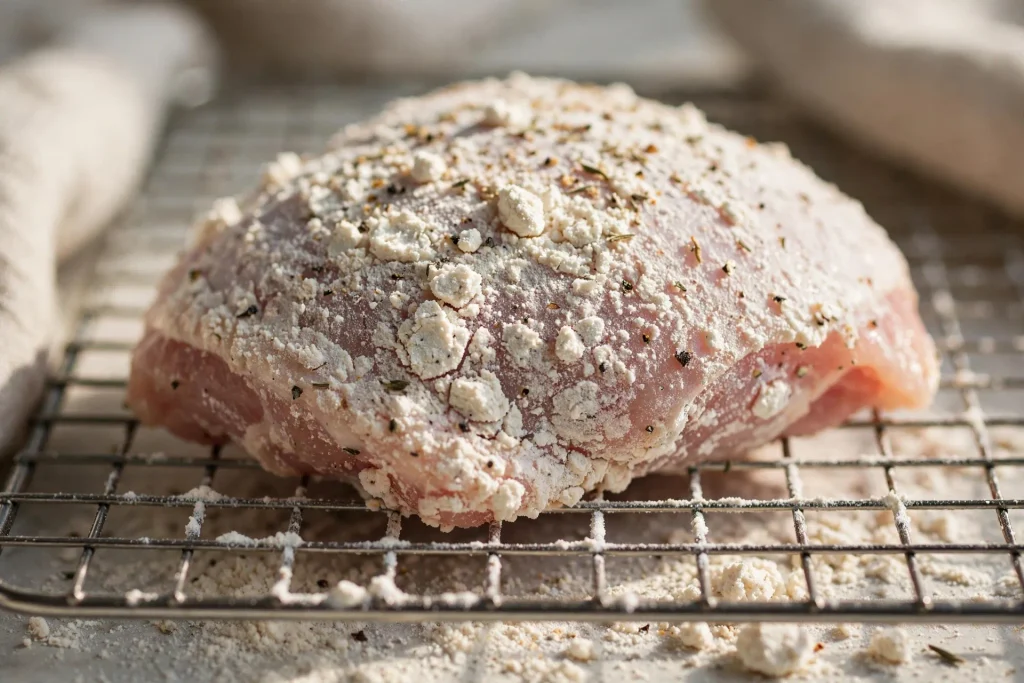
Lift one piece of chicken from the buttermilk, letting the excess drip off for a few seconds. Set it in the seasoned flour and press firmly on all sides so the coating adheres well.
Shake off any loose flour and transfer the piece to a wire rack. Repeat with the remaining chicken.
For extra texture, spoon a little of the leftover buttermilk marinade into the seasoned flour and toss briefly with a fork to form small clumps before dredging , this creates a craggier, extra-crispy crust.
Step 4: Heat the Oil
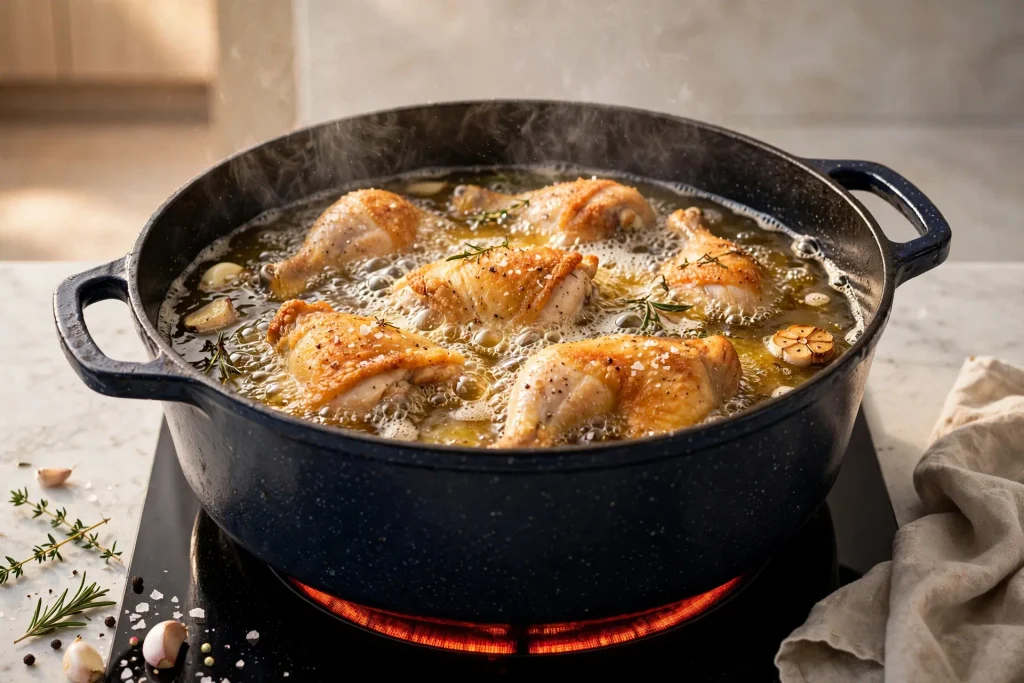
Pour oil into a large, heavy pot or Dutch oven, filling it no more than halfway. Attach a deep-fry thermometer and heat the oil to 350°F (175°C).
Set a clean wire rack over a baking sheet near the stove for draining the cooked chicken.
Step 5: Fry in Batches
Lower a few pieces into the hot oil at a time, being careful not to crowd the pot. The temperature will drop once the chicken goes in — adjust the burner to bring it back to around 325°F (165°C) as the chicken cooks.
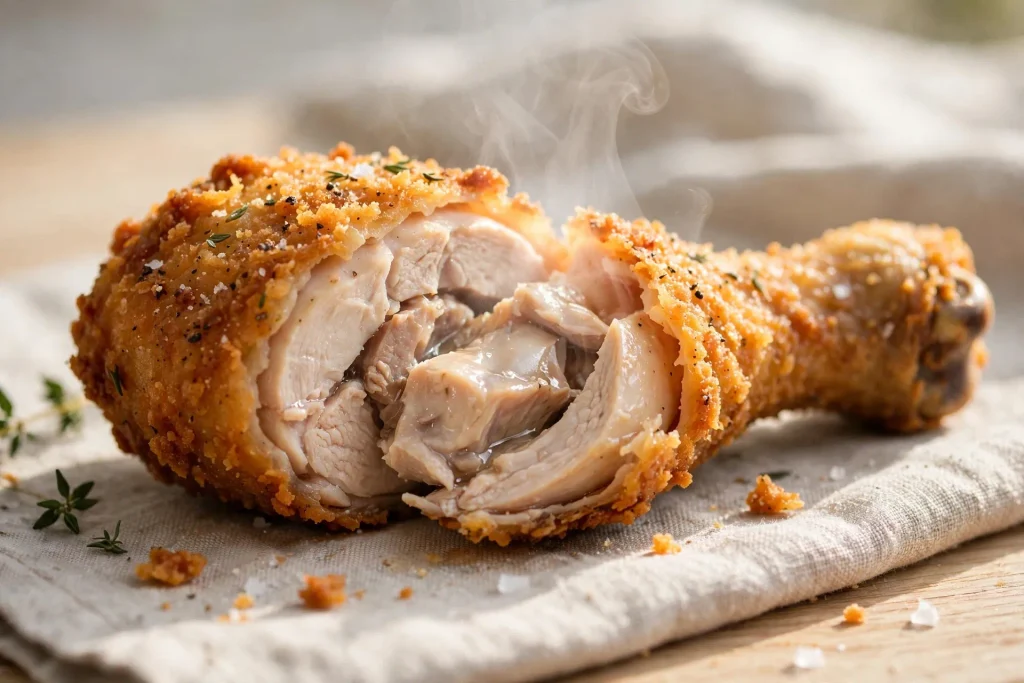
Turn the pieces occasionally for even browning. Fry until the coating is deeply golden and the thickest piece reaches 165°F (74°C) on an instant-read thermometer, generally 13–20 minutes depending on size.
Step 6: Drain and Rest
Use tongs or a slotted spoon to move the cooked chicken to the wire rack. Let excess oil drip off while the next batch fries. Allow the oil to return to 350°F (175°C) between batches.
Step 7: Serve
Transfer the chicken to a serving platter and serve warm.
Expert Tips & Common Mistakes
Use a Thermometer for the Oil, Not Just the Chicken
Guessing oil temperature by sight leads to undercooked or overly greasy chicken. A clip-on deep-fry thermometer takes the uncertainty out of both frying and doneness.
Don’t Crowd the Pot
Adding too many pieces at once drops the oil temperature sharply and leads to a soggy, pale coating. Fry in smaller batches and let the oil recover in between.
Press the Coating On Firmly
A light dusting of flour won’t hold up in hot oil. Press it into the chicken with your hand so it forms a solid, even layer.
Let Excess Marinade Drip Off First
Too much wet buttermilk clinging to the chicken makes the flour clump unevenly. A few seconds of draining before dredging makes a noticeable difference.
Check Doneness by Temperature, Not Color
A golden crust doesn’t guarantee the chicken is fully cooked. Always confirm 165°F (74°C) in the thickest part, away from the bone.
Rest on a Wire Rack, Not Paper Towels
Paper towels trap steam underneath the chicken and soften the crust. A wire rack lets air circulate on all sides, keeping the coating crisp.
Keep Piece Sizes Consistent Within a Batch
Frying similarly sized pieces together helps everything finish cooking at close to the same time.
Variations
Spicier Fried Chicken
Double the cayenne in the flour mixture, or add extra hot sauce to the marinade for more heat throughout.
Milder Fried Chicken
Skip the cayenne and use a mild hot sauce, or omit the hot sauce entirely for a more kid-friendly version.
Extra-Crispy Fried Chicken
Use the flour-clumping technique from Step 3 on every piece for a rougher, more textured crust with more surface area to crisp.
Herb-Seasoned Fried Chicken
Stir a teaspoon of dried thyme or oregano into the seasoned flour for a more herb-forward flavor profile.
Fried Chicken Tenders
Swap in boneless chicken tenders for a faster-cooking version. Smaller pieces cook quicker, so start checking temperature a few minutes early and pull them at 165°F (74°C).
Serving Suggestions
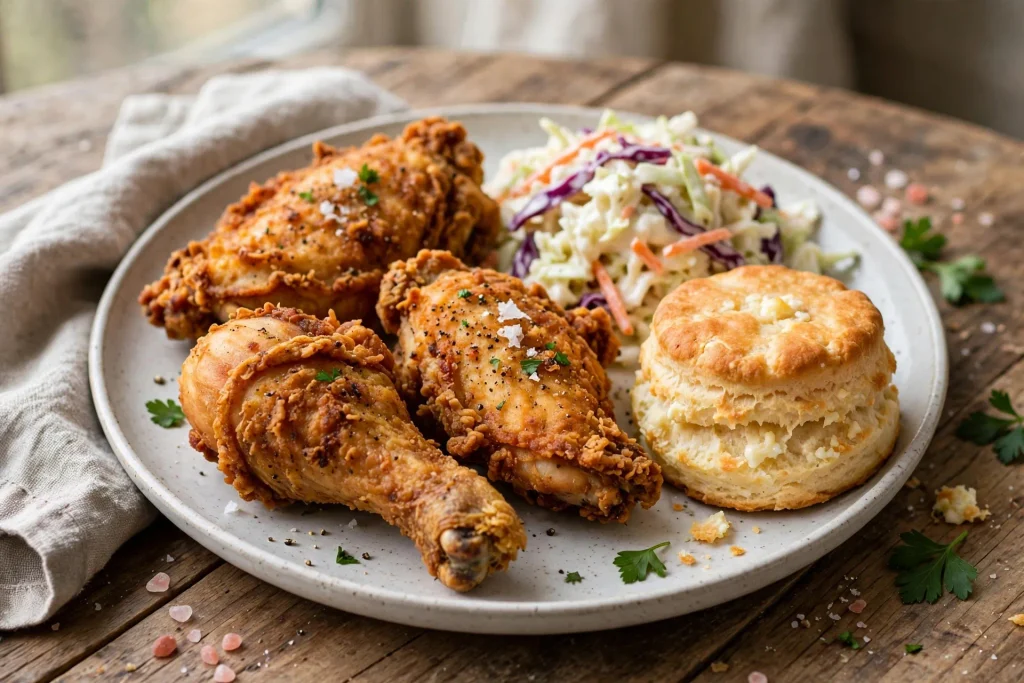
Fried chicken pairs naturally with classic sides like coleslaw, mashed potatoes, buttermilk biscuits, or corn on the cob. A simple green salad balances out the richness if you want something lighter on the plate.
For a casual spread, add dill pickles and a dipping sauce like honey mustard or ranch. Roasted vegetables or a potato side also work well for a more filling dinner.
Storage & Reheating
Refrigerating Leftovers
Refrigerate leftover chicken within 2 hours of frying and use it within 3–4 days for the best quality and safety.
Reheating in the Oven
Arrange the chicken on a wire rack over a baking sheet and reheat in a 375°F (190°C) oven until warmed through. This method does the best job of bringing back a crisp exterior.
Reheating in an Air Fryer
Place the pieces in a single layer and reheat until hot throughout, checking your air fryer’s guidance since times vary between models. Confirm the chicken is heated through before serving.
Microwave Reheating
The microwave is the fastest option, but it softens the coating, so it’s best reserved for when texture isn’t the priority.
FAQs
How long should I marinate chicken for fried chicken?
At least 4 hours in the refrigerator is enough to season the meat and add tenderness. Marinating overnight deepens the flavor further if you have the time.
What temperature should the oil be for fried chicken?
Heat the oil to 350°F (175°C) before adding the chicken, then let it settle to around 325°F (165°C) as the pieces cook. Keeping the oil in this range is more important than hitting an exact number.
How long does fried chicken take to cook?
Most bone-in pieces take about 13–20 minutes, depending on their size. Always confirm doneness with a thermometer rather than relying on time alone.
What internal temperature should fried chicken reach?
The thickest part of the chicken, away from the bone, should read at least 165°F (74°C) on an instant-read thermometer.
Why isn’t my fried chicken crispy?
Overcrowding the pot, letting the oil temperature drop too far, or resting the chicken on paper towels instead of a wire rack are the most common culprits. Fry in batches, watch the temperature, and drain on a rack.
Why does the coating fall off my fried chicken?
This usually comes down to excess marinade left on the chicken or flour that wasn’t pressed on firmly enough. Let the chicken drip dry briefly and press the coating on with your hand before frying.
Can I use chicken breasts instead?
Yes, though breasts are thicker and may need a slightly longer or shorter time depending on their size. Check the thickest part with a thermometer and cook to 165°F (74°C).
Can I use a different frying oil?
Vegetable and peanut oil both work well here. Any neutral, high-smoke-point oil is suitable as long as you monitor the temperature while frying.
Can I make fried chicken ahead of time?
It’s best fresh, but leftovers reheat reasonably well in the oven or air fryer. The microwave works in a pinch but will soften the crust.
Crispy Buttermilk Fried Chicken
Ingredients
Equipment
Method
- Place the chicken in a large bowl or container. Add buttermilk, hot sauce, salt, pepper, paprika, and garlic powder; turn to coat. Cover and refrigerate at least 4 hours.
- Whisk together flour, baking powder, paprika, garlic powder, onion powder, black pepper, salt, and cayenne pepper in a shallow bowl.
- Remove each piece of chicken from the marinade and let excess liquid drip off.
- Press each piece firmly into the seasoned flour until fully coated. Place on a wire rack.
- Heat oil in a heavy pot or Dutch oven (filled no more than halfway) to 350°F (175°C).
- Fry chicken in batches, adjusting heat to keep the oil around 325°F (165°C).
- Turn pieces as needed until deeply golden and the thickest part reaches 165°F (74°C).
- Transfer cooked chicken to a wire rack to drain. Let oil return to 350°F (175°C) before the next batch.
- Serve warm.